Showing posts with label Washes. Show all posts

Friday, November 19, 2010

One Scene - Two Approaches

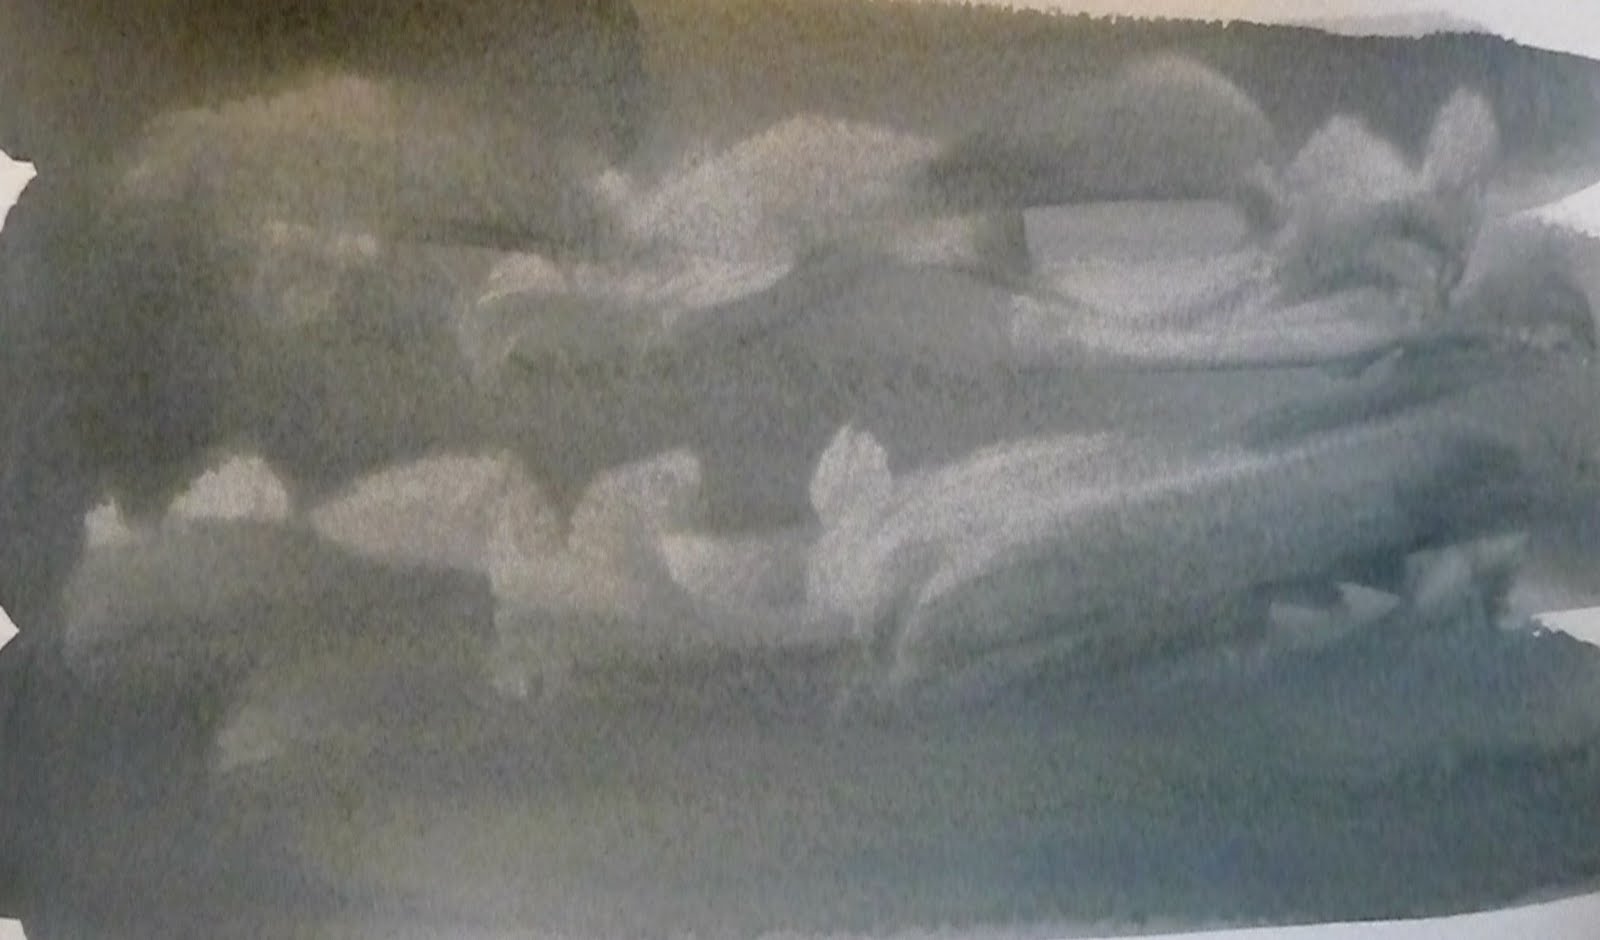
"Arches - Focus on Light", 8.5" x 11.5" watercolor on cold press
This week, I played with the basic same scene but approached it from two different ways.  One way was to focus on the light in the scene.  Above you will see this scene where there's more light that shows on the stones and the wrought iron gate is perceived as white through out the darker colors of the shaded background of the arches.   The other way was to focus on color.  In this approach I chose to have the color and detail decide what is close to you.  You will find the color focused arches scene below.  Let me clarify that these are basically the same scene EXCEPT for being mirror images of one another.  I'll admit that I cut corners with the one above.  I did it in my watercolor painting class and in the interest of time... It was enlarged and then traced.  I know that was kind of BAD of me. 

The above was especially a fun water color painting class experience because it started off as a rose colored wash.  Colleen showed me various ways to remove color from a water color painting where the paint has all ready been applied.  I rather felt like a chemist as we mixed bleach 50/50 with water.  A piece of clear acetate with cut out areas for the lighter areas (like the top arches and the windows within the arches) was placed over the rose colored wash.  With the acetate taped down, an old brush was used to apply the bleach/water mix to the rose colored wash.  It was interesting to see how the rose color started to disappear.  Those areas were then masked off.  While the masking fluid was drying, Colleen then showed me the FUN of using wax.  Wax was applied to various areas of the painting to give the effect of bricks.  I would color wash an area, then apply more wash, and then apply a wash with another color.  Layer upon layer; it was almost like building brick by brick and added bits of various colors to each wash to create the end result. 

Next, it was on to the shaded areas of the arches.  The shade was built; working from greens, browns, and then finally the blues.  Then Colleen showed how to remove color from the shaded arch areas to create the feeling of the wrought iron gates.  A metal razor blade was randomly and lightly scratched over the dried water color paint.  Thus, bit by bit the gates were formed.

" Arches with a Color Focus" 9" x 12" watercolor on yupo
The other approach was a focus on color.  The closer the surface is the darker and closer it is.  Therefore, on this painting there seems to be more of a focus on the wrought iron gates.  The inside of the arches are further away and thus contain lighter colors.  The inner arch areas almost disappear away with this approach.

So which do YOU like better?  I would love to hear your input!

Thursday, August 19, 2010

Water Color Painting Class #3

How time flies I'm all ready into my third class!  AND here's a painting that I did between classes... (A bit of homework).  Kind of a stormy clouds in background with trees.  It's based on a photo that our teacher gave us in the prior class.  Though, I will say the sky turned out to be darker than what I thought it would.

We started out the third class with watching a photo slide show and discussing composition in a painting.  It was very informative, and hopefully will help in my paintings overall.  It makes me want to go over all of my other paintings and see what I did right and what I did wrong.  Hopefully, I have more right than wrong.  After the slide show we proceeded into landscapes/over layering painting.  This we did over paintings we had all ready done in class.  I chose one of the washes that I did in my first class.  Here's the result....

This is supposed to be a field with pumpkins with the mountains and trees off in the distance.  It still needs some work.  But I think I'm seeing some progress?

Next the teacher had us work on stormy clouds in a different way.  It's like starting with a wash then putting turning the paper so that its vertical in one direction and then turn over the other way vertical before it drips off the paper.  Then mix in some gray and work it in a bit.  Put in the clouds with a clean moist brush picking up the paint.  Then turn the paper vertical one way then the other to allow the paint to work into those clods giving them more a fuzzy stormy look.  Well, I will say I was REALLY horrible at this exercise!  Here's what I ended up with...


Then we got to learn how to do evergreen trees.  These were rather fun and I experimented with several different size brushes on this same sheet of paper.  What do you think?


Thursday, August 12, 2010

Water Color Painting Classes- 1 & 2

I've muddled my way through two water color painting classes so far.  Last night, I had my second class and I feel like I'm still just barely dipping my toe into it.  It's definitely a learning curve and I'm hoping that my learning curve improves as I go along.  The first class we worked on washes and then we played with making clouds.  My clouds need some work and I'm rather amazed that water colors dry SO MUCH more lighter.  We took some of the paintings from the first class and used them again for backgrounds in the second class.   I guess that this is fairly common way of doing water color paintings in that you layer them.  You paint one segment.  Then, let it dry and paint another and so on. The teacher had us hold on to all of our paintings because we are going to still use some of them for landscapes for future.  Below are the photos of my water color paintings.  I'm documenting this because I'm curious to see how my water color painting progress.

Class # 1-- WASHES & CLOUDS


Class #2-- TREES & STORMY SKIES

( I do think that this stormy sky looks pretty good. -- Perhaps, there's hope for me yet?)