Thursday, October 14, 2010

Points of Perspectives in Water Color Painting Class

The word for water color painting this week was "Perspective".  Right away we were at Colleen's computer station looking at examples of perspectives.  There's 1, 2, and 3 point perspectives.  We first talked about one point perspective.  Which I will be frank I have never thought of one point before.  I know it boggles the mind that at times I can be a bit obtuse!  I remember doing two point perspective in high school mostly city scenes with buildings wrapping around corners (that looked really horrible) but one point?  I never considered it or really tried to use it before.  And well, 3 point perspective... Forgit-a-boud it! But now I can see that it would be helpful to make a building see taller.  Not that I'm planning on bounding any sky scrapers on any canvas in the short future. 

Colleen showed us several examples of one point perspective (with a bit of 2 point) via paintings from Kathy Weber.  What amazing paintings this artist has!  I love her use of color-- her use of shading!  It's just wonderful!  Please check out her blog if you get the chance.

After all those wonderful examples, we were off to do a pencil drawing first of a one point perspective of a building disappearing into the one point on the horizon.  Got out those rulers and we drew lines according to Colleen's directions.  I ended up doing two different building (right next to each other-- one kind of in front of the other) working on the same one point of perspective.  Nothing too elaborate but enough to get a feel for the concept.  Next, we chose a photo that had a one point perspective to work on.  I chose a black & white photo of a horse out at pasture.  Here it is....

"Horse at Pasture"-Wet-on-wet style on cold press paper- 9"x12"


 So what do you think?  I think I did pretty well on the fence's perspective. 

Oh, and here's some other paintings that I finished this week...


"Red Fall Leaves"- wet-on-wet style on cold press-9"x12"

"Confetti'd White Stallion"- wet-on-wet style on cold press- 9"x12"
I even broke out the oils and finished this painting...

"Cycling Cache Valley's Little Red"- Oil on canvas- 16"x20"

Thursday, October 7, 2010

Water Color Painting Class-- Saturation!

This week in class there seemed to be a theme—Saturation! First, Colleen discussed about how saturation of a color is relative to the vibrancy or brilliance of that color. Those colors that are lighter; like the yellows/oranges, naturally appear larger and carry more visual weight to that area of a painting. Also, those colors that are higher in intensity, i.e. pure pigments, tend to draw the eye to that area in a painting too. Colleen went on to show us several examples from Monet, Matisse, and other well known artists where they used the concept of color saturation in their composition.


Next we worked on Wet-on-Wet style of water color painting. In this we continued the concept of saturation as we literally were soaking cold press paper until it could no longer take any more water. This is the same method that we used in the prior class when we did the strawberry painting. Here again, we started by lightly drawing with pencil the outline of the painting. Colleen had us focus on the shading area of the painting. Concentrating on the darker and lighter areas of the painting would allow us also to think about the use of color saturation; as well as the values of color. I chose to do a painting based on a photo I taken up at a Sunday Silly Market in Park City. I call this painting—“Is This Hat Me or What?"
Is This Hat Me or What? - Wet-on-wet style on cold press paper

 And here are a few more of the puddle paintings that I worked on this last week...
Girls Checking Out Art - water color on yupo paper
Not too bad, huh? I might be improving just a wee bit?
Spur Exhange - water color on yupo paper

Sisters on a Sunny Sunday Afternoon - Water color on yupo paper

Thursday, September 30, 2010

Meanwhile Back at Water Color Painting Class...

Sculpture in Garden- water color on yupo paper
We ended up taking a couple of weeks off from water painting class due to death in my teacher's, Colleen's, family.  But last night class was resumed.  We started off by showing what we've been doing while class was out.  I had three paintings to show for missing two weeks.  She critiqued our work and gave up helpful suggestions on how to improve our painting.  I really like that about her teaching style.  She's positive about what we do but still gives helpful suggestions on how we can improve.
Tower Against the Sky- water color on yupo paper

Then we moved onto this week's lesson; Symmetry.  We went to the computer area and she showed us samples of water color paintings on Yupo (pronounce- U- Poo - with only 1 P-- I thought it had 2 P's and I was pronouncing it- YuP-Poo-- OOppps!)  We discussed and looked at good examples and some not so good examples of symmetry.  She talked and showed us how we can improve our paintings by getting our symmetry proper.

Biking Along Vine Street- water color on yupo
Next we were working on our own examples of symmetry.  I chose a photo with two different flowered vases to work on.  She had me softly draw one vase free hand.  Then, she had me stop and decide which half of the vase looked closest to the vase in the photo.  We measured top to bottom and side to side; to determine the center point.  I drew a line down the center.  Then, I erased one half and darkened the outline on the other side that was the "good side". 


Tracing paper was placed over the "good side" with the edge down along the center line.  Carefully taping the tracing paper along the center line but above and below the drawing area.  I, then, drew on top of the tracing paper above the "good side", and flipped the paper over and rubbed along the line I drew on the tracing paper.  It left a mark when I removed the tracing paper that I used then to draw a little darker.

 
Next I drew a second vase from free hand again.  I chose the "good side" and then erased the other side.  This time I measured up and down the vase from the center line to re-draw the "bad side" to look like the "good side".  Then, we got into the fun part.... PAINTING!  And thus, I ended up with this painting below...

Two Vases with Flowers- water color on yupo paper


Thursday, September 9, 2010

Water Painting Classes- Week 5 & 6- Puddle Painting...

This is my second week and I'm struggling with this style of painting.  In Puddle Painting, the painting is divided up into segments.  You start off by lightly drawing in the painting.  Then you plan you painting in segments.  Something that I will admit that I'm not very good at-- planning my painting.  Taking each segment of the painting you "puddle" water in that segment then drop color in.  It is very different in this style in that you mix the colors right in the painting rather than using a mixing tray.  I find this a bit scary in that I'm not always definite on what color I want to use in a certain segment of a painting.  Thus, I'm coming face to face with my problem of planning my paintings.  OUCH! 

I saw improvement in my second week of learning the puddle painting style of water color.  Last week's class was a disaster!  I ended up throwing last weeks attempt it was SO bad. I will admit that such things don't happen often but it did last week.  I had tried to paint a couple of young children leaning on each other.  It looked like a couple of lobster-colored aliens that were getting ready for Halloween. 

(Photo- The Highway Home- my second attempt at puddle painting.)
This week Colleen took us through a presentation of visually making our paintings have a sense of spacial feelings.  In other words, making our two dimensional paintings look 3-D.  We went over several different ways that you could accomplish this-- value, sizing, level of detail, and height on the paper.  Colleen showed up several details and also talked about the plains of a painting.  Plains is referring to those items that are closer are on a plain and those item that are farther will be on another plain.  We need to use these concepts when we are planning our paintings.  Ooopps!  There's my problem-- planning a painting! 

I chose to paint from a photo that I took from my car as I was driving home from my Omaha trip this last week.  Photo of the painting is above and believe me-- it's better than last week's attempt.  The Highway Home -- I think it looks like a highway disappearing in the distance.  What do you think?  BUT now I do need to see about getting some practice in!  See if I can improve my learning curve just a bit.

Thursday, August 26, 2010

Water Color Painting Class #4- A Study in Strawberries...

We learned a totally new technique of water coloring this class.  It was wet on wet.  I also got to finally break open and use my new bottle of masking fluid.  Oh boy! Oh boy!  Now we're having fun!

First we sat in front of the computer and discussed the 5 varies of shading to make something appear 3 dimensional on paper.  I must have picked up more in the University of Utah open draw than what I thought.  All of my years of pencil drawing were paying off.

Then, we were drawing a strawberry from a black & white photo on the rough side of the water color paper.  Then it was fun with masking fluid.  I got to break open the new package on this one.  It was a mini version of Christmas.  I finally get to play with and figure out what this masking fluid was used for.  Yahoo!  Colleen, the teacher told us to just lightly put/ poke the paper to make some strawberry seeds on the dark side of the strawberry; about 5 seeds would do.  Don't over do it; she told us.
(Photo- my monochromatic strawberry study.)

We turned the drawn and masked drawing face down on our boards.  We took water filled sponges and squeeze water out on to the paper.  More and more water; we squeezed onto the paper.  Pushing the water with the sponge into the back of the paper.  Then, we flipped the paper over.  More water was squeezed on to the front of the paper.  This side we needed to be careful not to disturb the drawing or the masking.  We carefully dabbed more and more water into the paper.  The goal was to raise the paper off the board and have it sag easily in you hand.  Once that occurred, then we started to sop up all the water off our boards and all of the excess water off of the paper.  Then with a rolled up dry tea towel, we rolled it across over the paper on both sides trying to get all of the excess water out.  It seemed a little counter to what we had done.

Once that was done then we chose one color and did the strawberry in a monochromatic form.  The idea here is that we first need to figure out how to make it three dimensional then we can do it in color once we discover where our darker and lighter values were.  I decided to use a mix between paines gray and ultra marine blue.

( Photo- My colored study of the strawberry.)
Next, we did it in color.  I played with all kinds of color in the background but kept to mainly strawberry like colors for the actual colored strawberry.  Yeah, it might have been a little boring of me.  One of the gals in the class did a wonderful dual colored strawberry with a cool red and a wonderful warm burnt sienna.  It was wonderful!  Another gal did a red with shades of purple that turned out quite nice too.

Thursday, August 19, 2010

Water Color Painting Class #3

How time flies I'm all ready into my third class!  AND here's a painting that I did between classes... (A bit of homework).  Kind of a stormy clouds in background with trees.  It's based on a photo that our teacher gave us in the prior class.  Though, I will say the sky turned out to be darker than what I thought it would.

We started out the third class with watching a photo slide show and discussing composition in a painting.  It was very informative, and hopefully will help in my paintings overall.  It makes me want to go over all of my other paintings and see what I did right and what I did wrong.  Hopefully, I have more right than wrong.  After the slide show we proceeded into landscapes/over layering painting.  This we did over paintings we had all ready done in class.  I chose one of the washes that I did in my first class.  Here's the result....

This is supposed to be a field with pumpkins with the mountains and trees off in the distance.  It still needs some work.  But I think I'm seeing some progress?

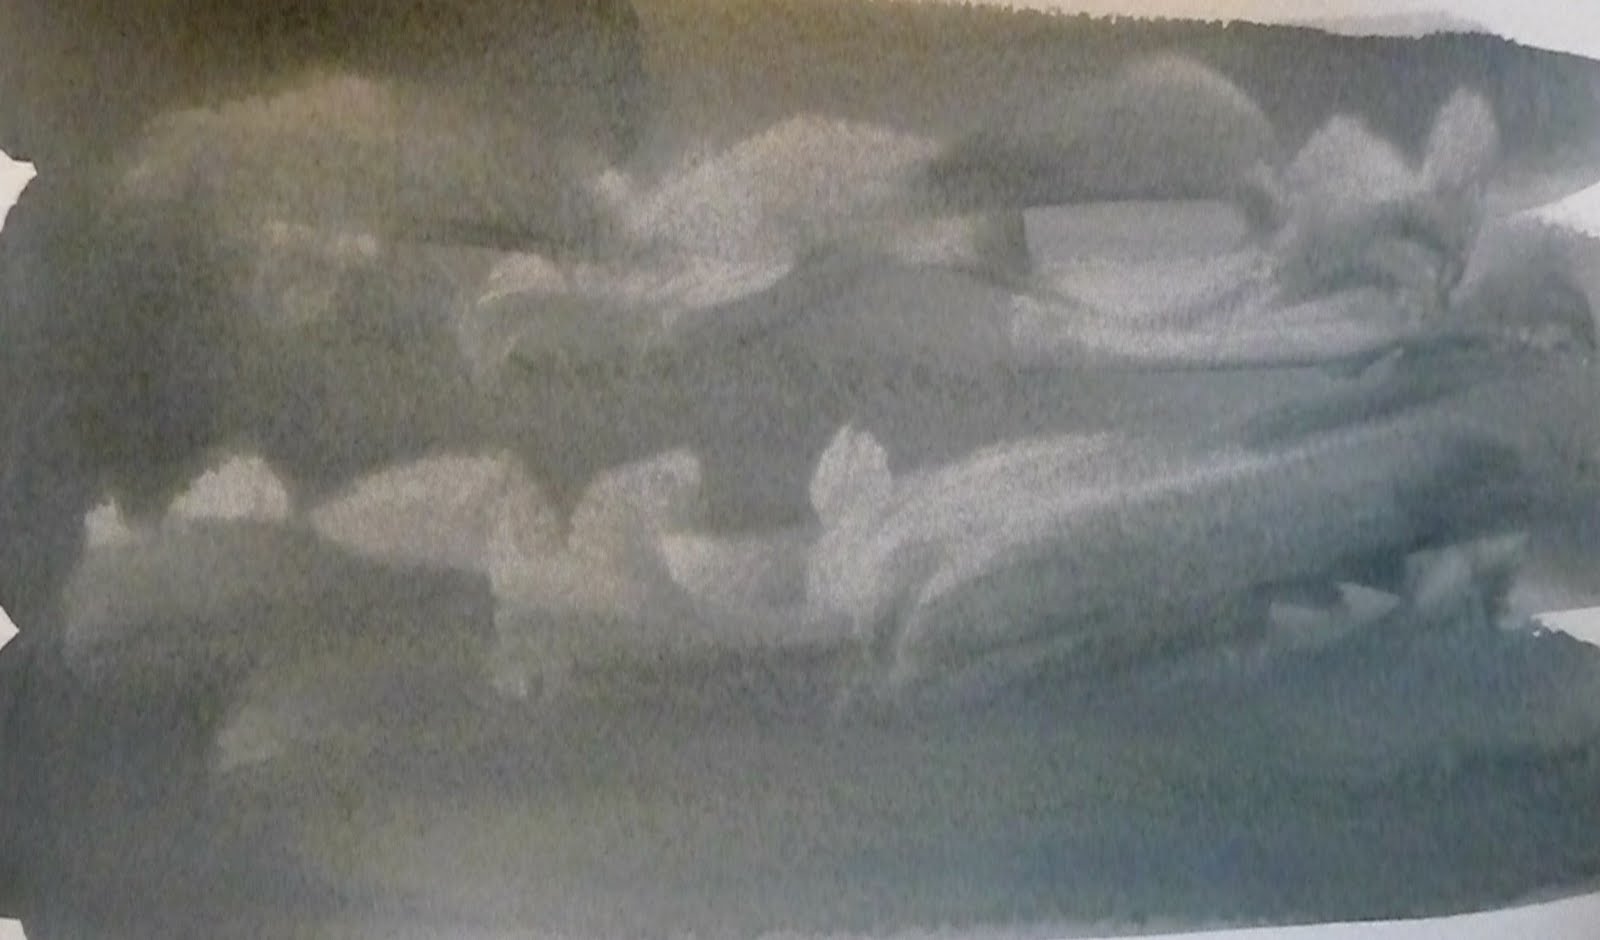
Next the teacher had us work on stormy clouds in a different way.  It's like starting with a wash then putting turning the paper so that its vertical in one direction and then turn over the other way vertical before it drips off the paper.  Then mix in some gray and work it in a bit.  Put in the clouds with a clean moist brush picking up the paint.  Then turn the paper vertical one way then the other to allow the paint to work into those clods giving them more a fuzzy stormy look.  Well, I will say I was REALLY horrible at this exercise!  Here's what I ended up with...


Then we got to learn how to do evergreen trees.  These were rather fun and I experimented with several different size brushes on this same sheet of paper.  What do you think?


Thursday, August 12, 2010

Water Color Painting Classes- 1 & 2

I've muddled my way through two water color painting classes so far.  Last night, I had my second class and I feel like I'm still just barely dipping my toe into it.  It's definitely a learning curve and I'm hoping that my learning curve improves as I go along.  The first class we worked on washes and then we played with making clouds.  My clouds need some work and I'm rather amazed that water colors dry SO MUCH more lighter.  We took some of the paintings from the first class and used them again for backgrounds in the second class.   I guess that this is fairly common way of doing water color paintings in that you layer them.  You paint one segment.  Then, let it dry and paint another and so on. The teacher had us hold on to all of our paintings because we are going to still use some of them for landscapes for future.  Below are the photos of my water color paintings.  I'm documenting this because I'm curious to see how my water color painting progress.

Class # 1-- WASHES & CLOUDS


Class #2-- TREES & STORMY SKIES

( I do think that this stormy sky looks pretty good. -- Perhaps, there's hope for me yet?)

Wednesday, August 4, 2010

Starting Water Color Classes...

Tonight I'm off to start learning the art of water color.  I've attempted this art form before but it came out as a watery mess of colored blobs on a sheet of paper.  I'm hoping that I can figure it out with the help of classes.  I'm taking classes from a gal that I met through my former oil painting teacher.  Her name is Colleen Reynolds.  Keep your fingers crossed and I hope to have some successful pictures of paintings to share with you in the near future.

Thursday, May 20, 2010

Blue Moon Garden - A Tangent into Abstract

Here's the latest painting.  It's been a while and I have been going a bit through a "painter's block" period.  I call it "Blue Moon Garden".  I found myself taking a tangent into the abstract section of art and this was rather fun.  It's oil on a wrapped 16" X 20" canvas.  It makes me think of sitting out in a garden at night.  A silent peaceful time to reflect on life.  Enjoy and I would love to hear any feedback you may have.  Thank you.

Thursday, April 15, 2010

Hanging Artwork

While I'm struggling through trying to paint my next painting ( a version of "Painter's Block"), I thought that I would share some photos of my art hanging in a friend's house. I will admit that I really find it fun and rather an amazing feeling to walk into a house and see my art.


This is becoming more and more common. It's as I paint more and more of my paintings (and they get sold)that they get out there; that I will see them more. It warms my heart, and makes me happy to have my artwork so that it can add color to other's lives and some enjoyment.

Diane, my friend, says that quite often she will be enjoying her morning cup of coffee and look up to enjoy my artwork. These are located in her front room.


Thanks for sharing Diane! If any of you out there have photos of my artwork hanging in your home, I would love to share those here.